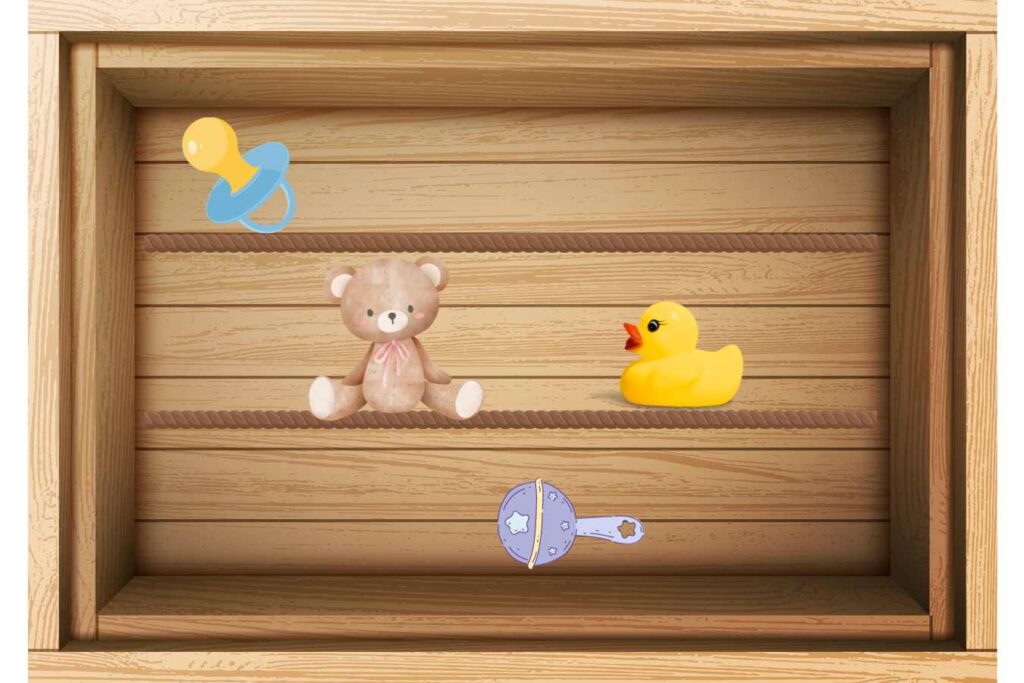
Building a Shadow Box: A Step by Step Guide.
Shadow boxes are a charming and versatile way to display cherished items and keepsakes. Unlike traditional picture frames, shadow boxes offer depth, allowing you to create multi-layered displays that capture attention. If you’ve ever wanted to build your own shadow box, you’re in luck! In this step-by-step guide, I’ll walk you through the process of creating a personalized shadow box that reflects your style and showcases your treasures.
Materials You’ll Need:
- Wood or Shadow Box Frame: Decide on the size and depth based on your needs.
- Glass or Acrylic Sheet: For the front of the shadow box.
- Wood Glue: To secure the frame joints.
- Sandpaper: For smoothing rough edges.
- Paint or Stain: To finish the frame (optional).
- Backing Material: Corkboard, fabric, or foam board.
- Objects and Keepsakes: Items you want to display.
- Measuring Tape, Ruler, and Pencil: For accurate measurements.
- Saw: To cut the wood to your desired dimensions.
- Clamps: To hold the frame together while the glue dries.
- Hammer and Nails or Screws: Depending on your assembly method.
Step 1: Design and Planning
- Decide on the Dimensions: Determine the size and depth of your shadow box based on the items you want to display.
- Sketch the Design: Draw a rough sketch of your shadow box, indicating the compartments and their sizes.
Step 2: Cutting the Wood
- Measure and Mark: Using a measuring tape and ruler, mark the dimensions on your chosen wood.
- Cut the Pieces: Carefully cut the wood pieces using a saw. Remember to account for the depth of the shadow box.
Step 3: Assembling the Frame
- Dry Fit: Before gluing, dry-fit the pieces together to ensure a snug fit.
- Apply Wood Glue: Apply wood glue to the joints and assemble the frame.
- Secure with Clamps: Use clamps to hold the frame together while the glue dries. Wipe off any excess glue with a damp cloth.
Step 4: Finishing Touches
- Sand the Edges: Once the glue is dry, sand any rough edges or uneven surfaces.
- Paint or Stain: If desired, paint or stain the frame to match your decor or personal style. Allow it to dry thoroughly.
Step 5: Adding the Backing and Compartments
- Cut the Backing Material: Using the frame as a guide, cut your chosen backing material (corkboard, fabric, or foam board) to fit.
- Attach the Backing: Secure the backing material to the frame using wood glue or staples, depending on the material.
- Create Compartments: Determine where you want your compartments and shelves to be. Use additional wood or dividers to create multiple compartments within the shadow box.
Step 6: Installing the Front
- Cut the Front Material: Measure and cut the glass or acrylic sheet to fit the front of your shadow box.
- Secure the Front: Attach the glass or acrylic sheet to the frame using small nails, screws, or a suitable adhesive.
Step 7: Arrange and Display
- Arrange Your Keepsakes: Now comes the fun part! Arrange your items, cards, and keepsakes within the compartments of your shadow box.
- Secure if Necessary: Use double-sided tape, adhesive, or small pins to secure items in place.
Step 8: Hang or Display
- Mounting Options: Depending on the size and weight, you can mount your shadow box on the wall using picture hangers or display it on a tabletop or shelf.
- Enjoy Your Creation: Sit back and admire your personalized shadow box, showcasing your cherished memories and keepsakes.
Conclusion
Building a shadow box allows you to create a unique display that not only showcases your cherished items but also adds a decorative touch to your space. With the right materials, tools, and a bit of creativity, you can design a shadow box that becomes a conversation piece in your home.

